|
When you are in your resort at Disney, there are a few things to think about. Of course, you need to know how to keep your things safe at Disney, A lot of people wonder about tipping! Tipping is something that many people do at Disney. We previously gave some ideas on who you can tip, and when, but one thing that constantly comes up is Mousekeeping. Not everyone knows what to expect when it comes to getting your room cleaned at Disney, and that can lead to some problems. If you choose to have your room cleaned while at Disney, it is, of course, your own personal preference if you choose to leave a tip for Mousekeeping, however if you do, or if you don't, here are a few other things to think about during your stay that might make your experience, (and those cleaning your room) better. 1. Be careful where you leave your money Money left by the TV, the nightstand, table or the bed is usually considered one of the areas a tip is left. If you AREN'T leaving a tip, don't leave your money in plain sight or one of those "usual" areas if you aren't in the room. It may be mistaken for a tip. There have been a few stories of people losing large amounts because it was thought to be a tip. 2. Coins are great, but heavy! These workers are moving from room to room on the go! If you leave your tip in coins, I'm sure it's appreciated, but does weigh down the pockets! Maybe save those quarters and pennies for the penny press machines? 3. Watch your small stuff! It should always go without saying, but put your things in a locking suitcase, or in the room safe if they have value to you. It would stink if not because of theft, but because of not noticing, that something small rolled away! It's pretty easy for jewelry or pins or other little knick knacks to fall and not be noticed! 4. Throw away your trash Just because you get a room cleaning daily, does not mean that they will pick up your trash for you. If it's in the bin, it will get taken away, but if your trash is left on the floor, on a table or other surface it won't be cleaned for you. In warmer areas especially, if you let your trash or uneaten food sit, it is an invitation for bugs, lingering smells and accidents waiting to happen, like when a melted dole whip spills on your phone. 5. If you see them, smile! If you see the person cleaning your room, smile, and say thank you! It might not be a big deal to you, but it means a lot to them, that their hard work is appreciated! On that note, if you are checking out, and have some unopened waters, juices or snacks, maybe leave a note with them on the table, for Mousekeeping to enjoy, or share. Who doesn't enjoy a surprise snack? 6. If you do tip, considering tipping daily If you do choose to leave a tip, think about doing it daily. Our last trip, we had a new person every day in our room. Some just cleaned it, others left the Pixie Dust in the form of Mickey in the towels, or Minnie's Bow out of the bathmat. While tipping doesn't guarantee Pixie Dust, it does show appreciation to that person cleaning up the ick so many others have left behind! 7. If you do have a problem, be polite If something isn't right, your Disney Resort is going to make it right, and quickly, but before getting angry that you don't have enough towels, or there was something moved in your room, take slow breaths, call or go down to the lobby, and speak to a manager. I have watched as those who were polite, even joking about a bad situation walked away with extra fastpasses, while those yelling, got their problem fixed, and that was it. 8. On the other side, if someone is outstanding, let the Manager know! Cast Compliments are always appreciated, and for many, are essential to advancing up the ladder in their jobs! If someone went out of their way for you, take a minute to acknowledge it! Using some of these tips will hopefully give you a better in room Resort experience next time you go so all of your expectations are met, and exceeded!
0 Comments
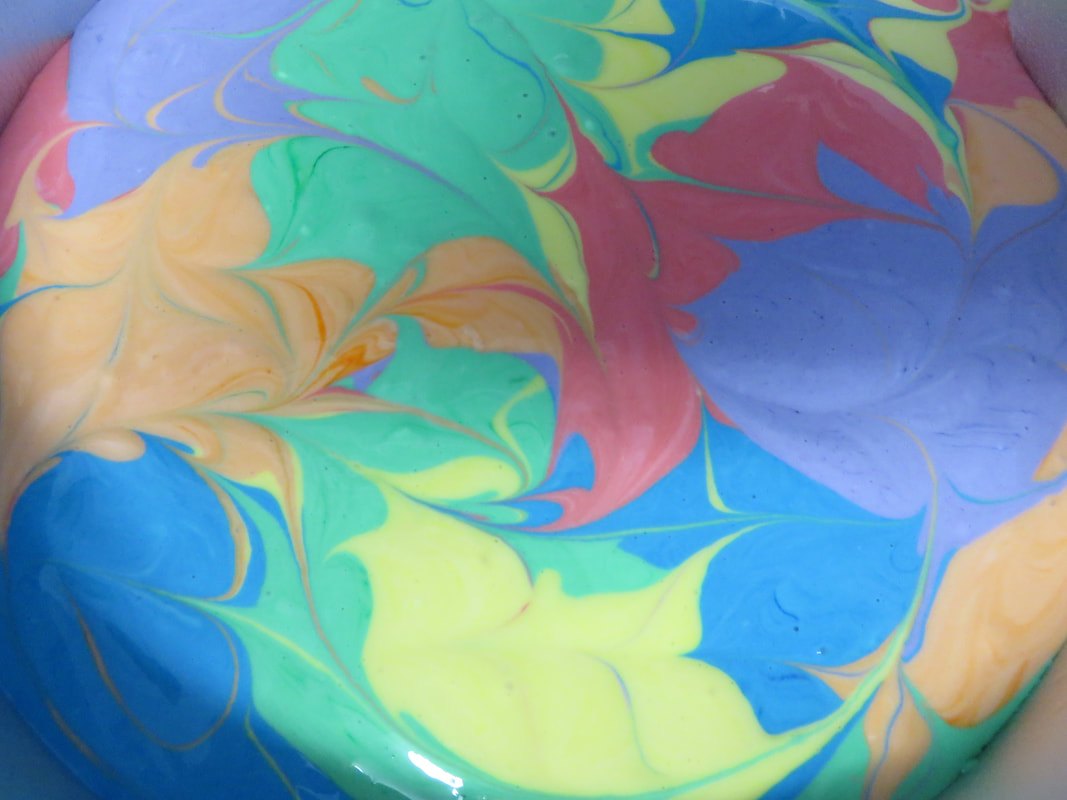
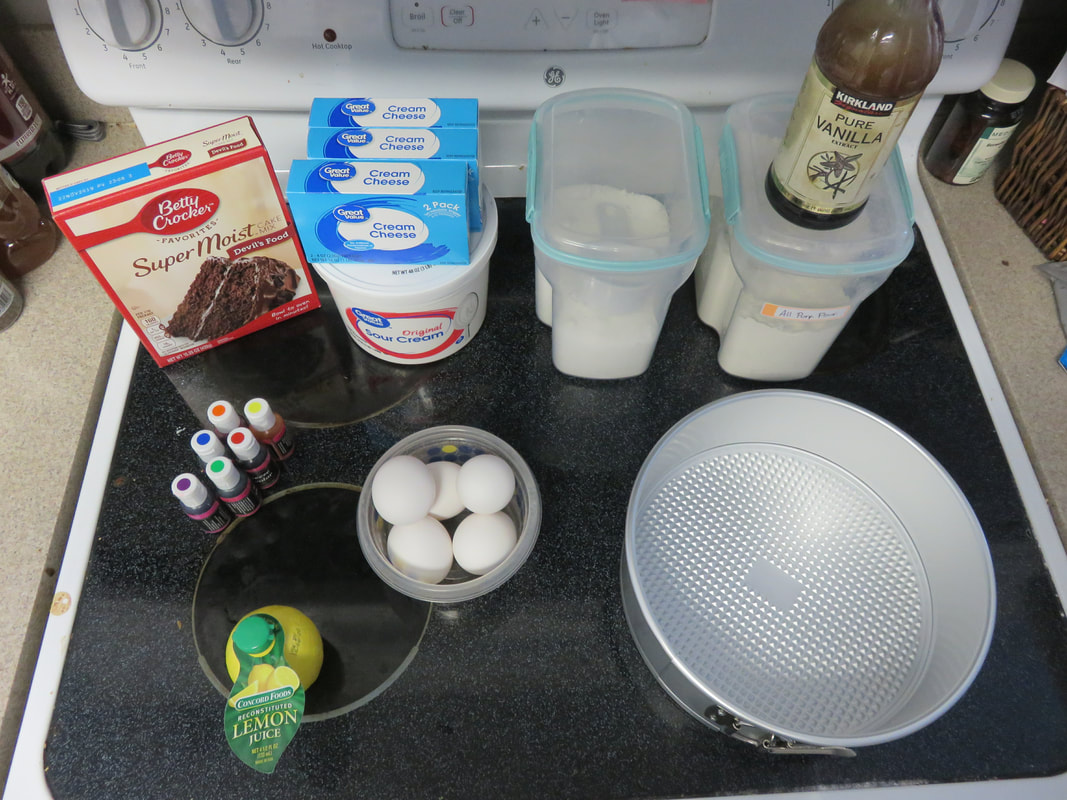
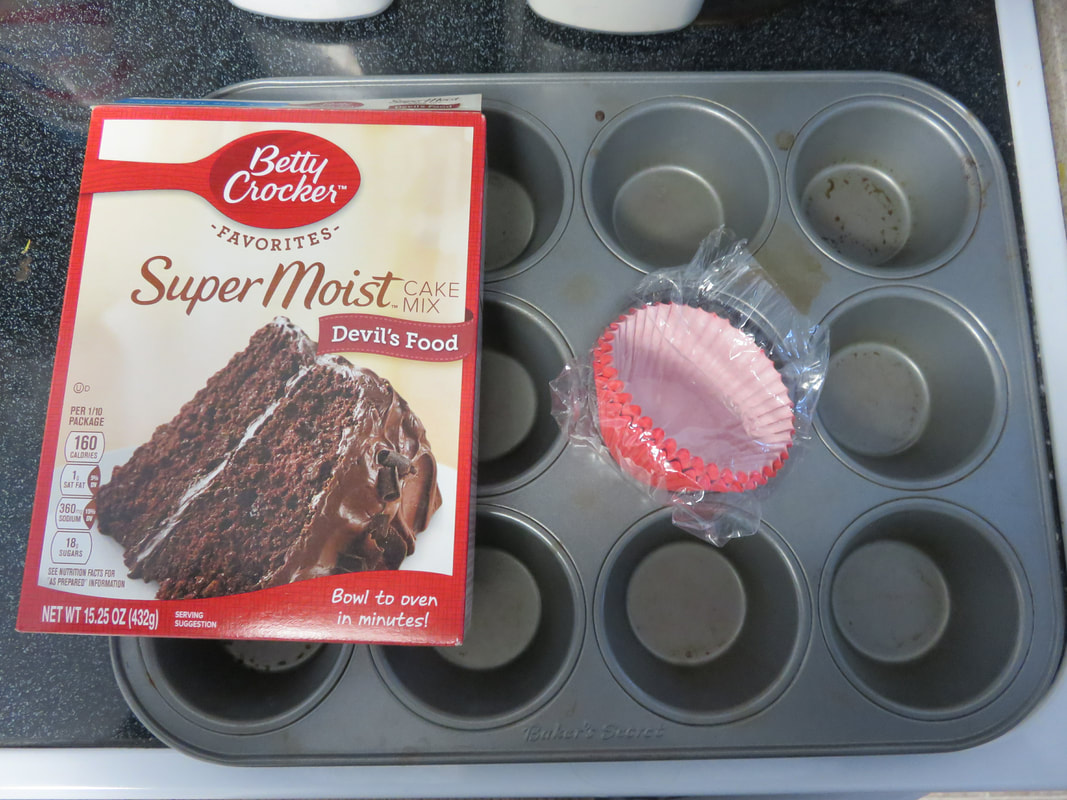
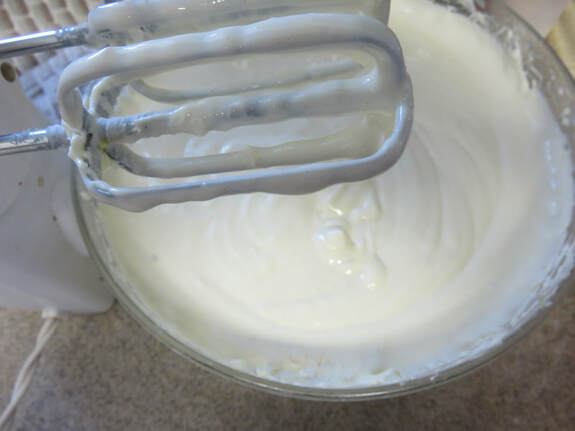
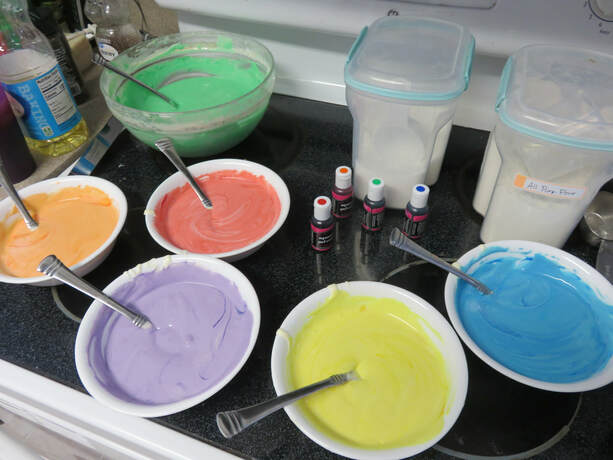
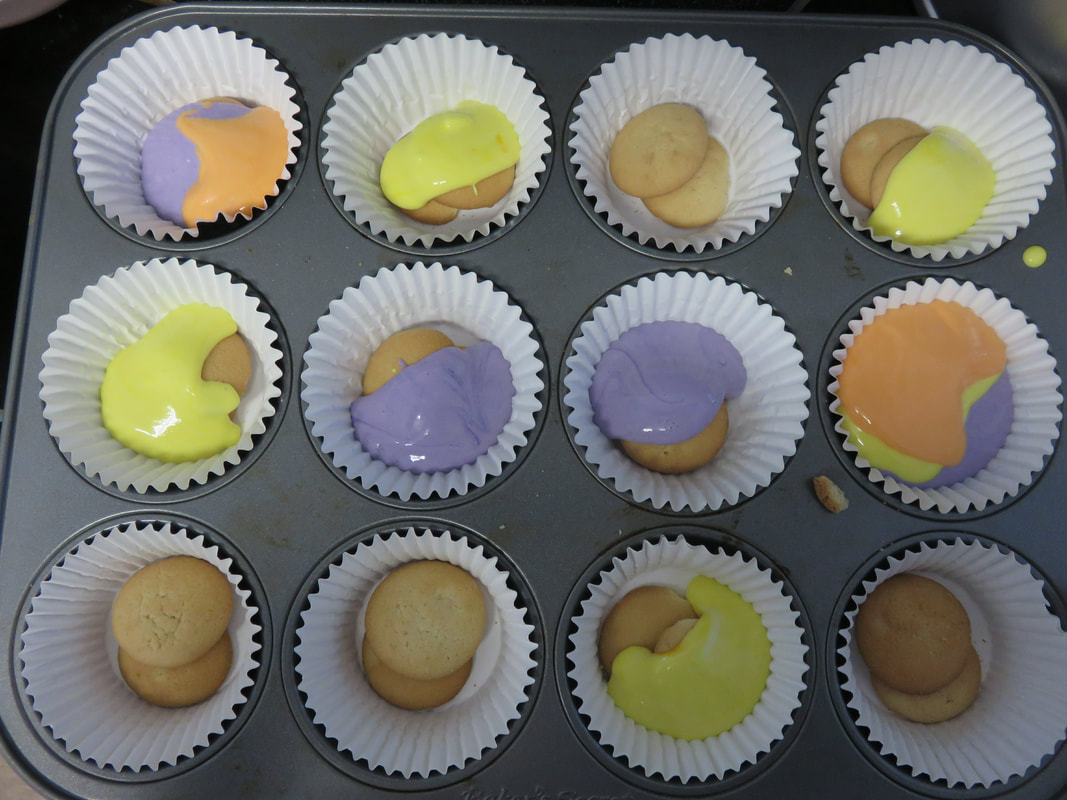
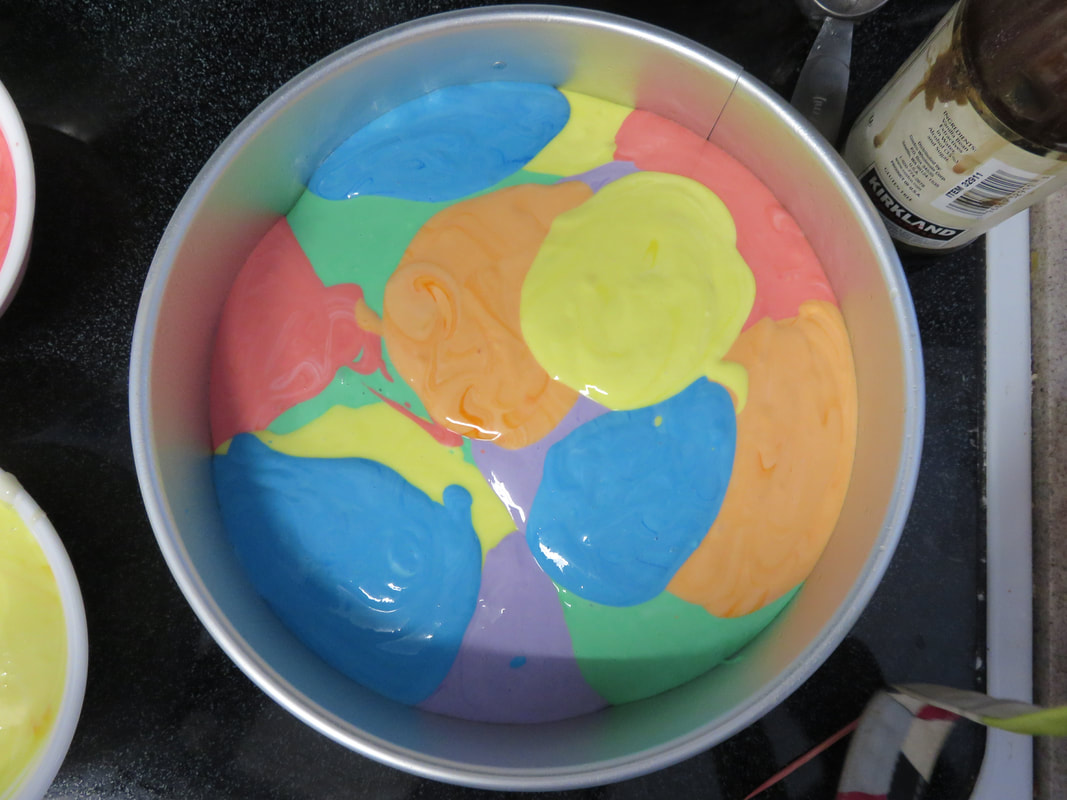
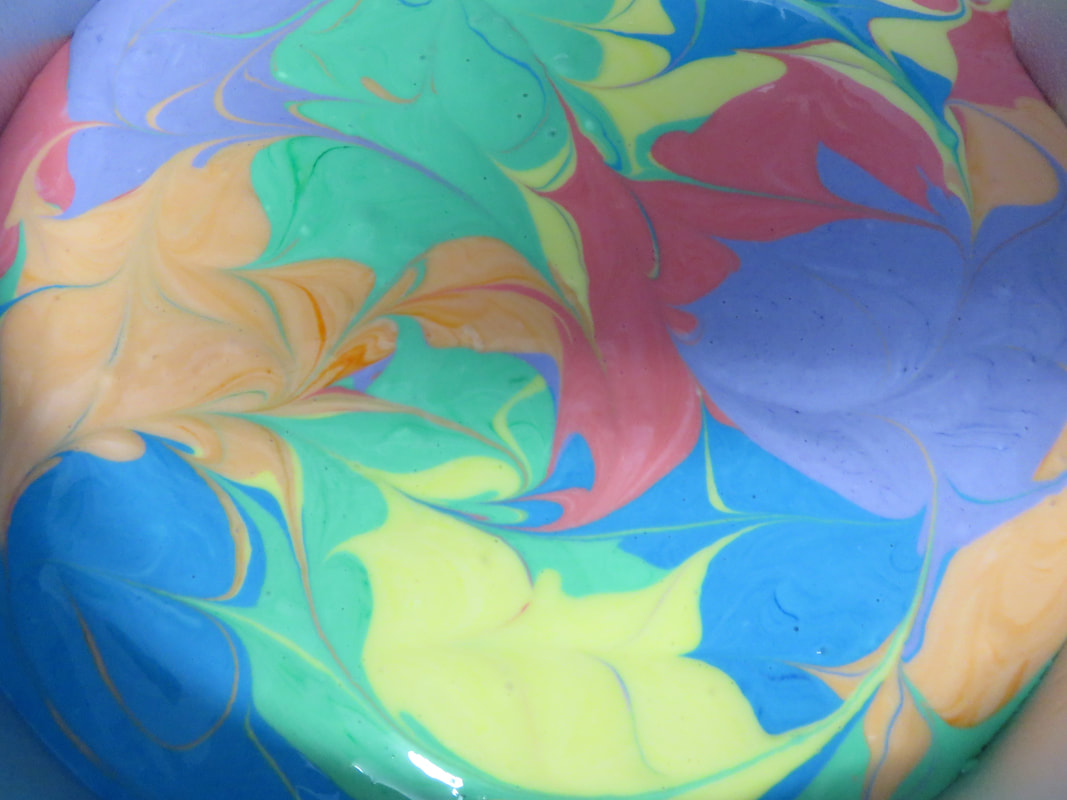
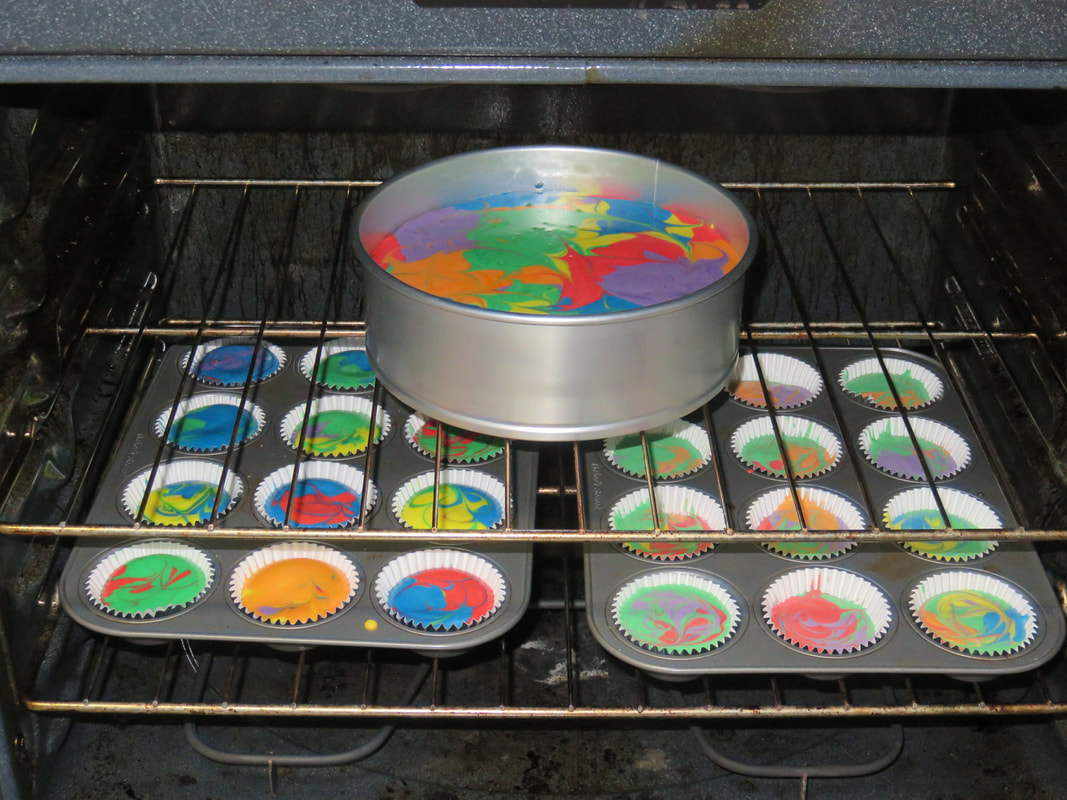
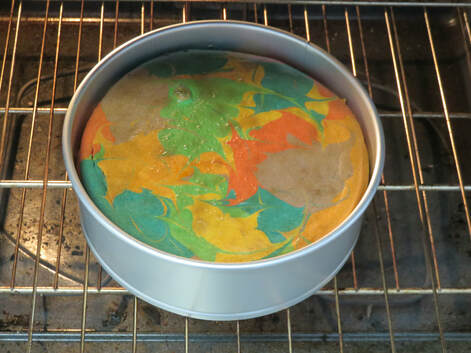
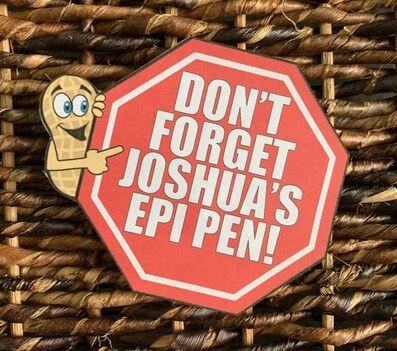
For the last few weeks, the Sky Gondolas connecting Disney's Pop Century and art of Animation Resorts, to Caribbean Beach, Epcot and Hollywood Studios have been in testing phase. While originally, it was thought the new transportation mode would be up this fall, could it be sooner? All of the pictures shown have been with a covering of some sort over the gondola, so pictures haven't been exciting to see, except for the fact showing that they are on the move and it's possible ahead of schedule! What do you think? ready to ride, or are you going to take a different way to and from the Parks? After the recent sky goldala problem at Seaworld in California, where 16 people were trapped in the air for almost four hours, I'm not sure how I feel! I feel confident Disney is the safest theme park in the world, and I think they would try and right the situation if something happened, but still...that' got to be scary! It's time for another copycat recipe!! I admit, I was VERY intimidated thinking about making this, but little man wanted it so badly, I gave it a shot, so that I could guarantee it would be completely safe for his allergies. Much to my surprise, it was easier than I thought it would be, AND it was really tasty! Like so many other recipes I do, you can change this up a little bit to suit YOU and your needs. While the original version at Pop Century Resort has Red Velvet Cake on the bottom, don't want it? Do chocolate! Or white, and make those colors really pop! Have a holiday approaching? Don't do the bright neon colors, do pastel, or red, white and blue, or even a team's colors! Make a large one, or make a bunch of minis (I did both!) This is very versatile! The most labor intensive part is the amount of dishes it creates. I'm going to show you step by step, then put the recipe at the end. This recipe is actually enough to make 24 mini cheesecakes, and one 9 inch springform pan cheesecake, not quite full. When you think about these bring around $6 each at Disney...it's much better to do it DIY! the total cost of ingredients, for me, was around $7, because I had the icing colors on hand, and the vanilla and sugar, I only calculated the portion that I used in my cost. I'm using the same icing colors that I used in the Copycat Banana Split Cupcakes, because I love (and need) them from a Nut Free Facility. If you are making a large cake, go ahead and mix the batter, putting about half of it in your springform, and put it in the oven. If you are making only minis, line the pan, and put in the bottom of each something like a vanilla wafer, or a piece of graham cracker.. It makes a nice crust, and makes it easier to handle the cheesecake. Mix your cream cheese, sugar, sour cream, eggs, vanilla and lemon until smooth. Divide the mixture into small bowls, one bowl for each color you want your cheesecake to be, and then color it until you are happy with the color. Cool your cake, and once cool, or if just doing minis, start to drop spoon fulls of colored mix. Keep dropping spoonfuls until your minis are about 2/3 full, and about an inch from the top of the larger pan, because the cheesecake mixture will expand as it cooks. Once it is all mixed, take a toothpick and drag it through the batter, swirling and mixing until you think it looks nice. Isn't that beautiful??? Like a work of art! Pop it in the oven and keep a CLOSE eye on it. Of course, the small ones cook faster, but I am not kidding, I thought to myself, naaaah, the big one needs just another minute or two, and in that time, I went from bright colors, to a sepia tone. Still tasty, and attractive, but not the bright colors I had planned for. The minis turned out great, just as vibrant as when they went in, however....it would appear I didn't take a final picture of those!! Whoops! I guess we ate them too fast! Here's the recipe! Please note, I used full fat versions of ingredients, sometimes lighter doesn't bake as well. You can try whatever you like though! 1 Box mix of Red Velvet (Or your favorite flavor) the ingredients needed to make the box mix 3 bricks of REGULAR cream cheese room temp 1 1/3 cups white sugar 5 eggs 16 oz tub of REGULAR sour cream 1/4 all purpose flour 2 tsp Vanilla extract 2 tsp lemon juice food colors (I used gel) in red, purple, green, blue, yellow, orange OR your desired colors Make cake batter, and put about a third in the springform pan. Bake until done, and cool. If just making minis, skip this step! Heat oven to 325 Beat cream cheese and sugar until creamy. Add eggs, one at a time, beating between each. Add flour, vanilla, lemon juice, and sour cream and mix until incorporated, but don't overmix! Divide batter between bowls matching the number of dyes you want to use, then add dye until you have the color you want. Drop spoonfuls of colored batter over the cake, or the cupcake pan in the spring form pan, leaving about an inch from the top of the pan. Use a toothpick to swirl and blend colors. Place in the middle of the top rack of the oven and bake for 1 hour and 15 minutes for the large cake, ABOUT 20 minutes for the mini cheesecakes. This is where I went wrong with my larger one. Trust the hour 15 min unless you've made cheesecakes before and know your oven cooks quick or slow. Don't leave these alone, and keep peeking on them. Sometimes the cheesecake starts to rise too high and will make a mess in your oven. If you see it rising too high, don't turn off the heat, but open the oven door a crack for a few minutes, and then close it, the cheesecake will drop in height. The large cheesecake will not be set completely at the end of the hour 15 minutes. After the baking time is up, crack the oven door and leave in for an additional hour. After an hour, remove and cool, then refrigerate, overnight. The minis, can be eaten after just a few hours of cooling! Final step, slice, serve and enjoy! Want to see how our minis, compare with the real thing? Here's a picture on Trip Advisor that shows what the Pop Century version looks like! See how tiny it is though??? I really hope you try and make this! It's less intimidating than I thought, and I admit, I feel really proud I was able to make it! Any ideas what we should make next?? Recently I was told about an awesome Etsy seller. She is a must for any allergy parent, OR Disney lover! The owner of this shop, is a frequent Disney goer, so knows what you need, in, or out, of The Magic Kingdom. Since I just posted about going on vacation with allergies, I wanted to share my recent purchase! This is what I ordered, two magnetic signs for our front door to remind us to take the epipens when we leave the house. Only $5 each! Click on the picture to go right to the listing. I was thrilled with the quality, the price and the fast shipping. While I didn't order anything custom Disney right now, and if you browse her site, you won't see much listed, she does custom orders, and from talking with her, can make just about anything you want! You can't get more custom than that! Need something Disney, or allergy or maybe even both? Drop her a note, and support both a Disney lover, and an Allergy Mom! While this is primarily a quick guide for those new to traveling with food allergies, maybe it will be a good refresher for those of you who do it all the time! Winter is almost over, and thoughts keep turning to one thing...vacation! Whether you are planning spring break, or summer trips, if you or a family member have allergies, it takes a little more planning that usual. Here are a few things to keep in mind as you get ready to get going! 1. Do a little research Just like we talk here about getting a plan before you go, getting an idea of the restaurants that will be on the way, and also at your destination. If possible, check for allergy friendly places, or stick with chains that you are familiar with. Bring snacks just in case, and always, always check with staff before you order! You might even consider printing some Chef's cards, and handing them to the waitstaff. There are some great free ones from F.A.R.E, jut click the underlined link here! 2. Don't forget the phone numbers! Bring along the number to the doctor or allergist, just in case you do have a reaction, or a question. 3.Pack the Epipens, and a few extras, too! You probably are in the great habit of always bringing your Epipens, but if you were to need them on a trip, it is better to have a few extras with you, not just because you may need more than one, or one may malfunction, but because after you have been treated, you are going to need to replace the ones you've used. With the current Epipen shortage, it might be harder to find a pen, especially in an unfamiliar town. 4. Keep your extra medicines where you can get them, and at the right temperature! Those extra Epipens aren't going to do you any good if they are packed in a suitcase, in the bottom of a massive stack. They also might be subject to too much heat, or cold, which can reduce the effectiveness of the medicine. Always keep your Epipens with you, and never in a hot car. You can find insulated, or even evaporation cooling bags online, those will help a lot when you are out in the hot sun! 5. Travel with Apps If you have a smart phone, there are several great apps for you, or access to helpful websites. remember to ALWAYS verify the information on there yourself, but these are great for getting you started, or getting reviews from others. Here are two that we really like. You can click on any of these to learn more. AllergyEats Spokin (sadly, not available yet for android they are working on it, just iphone but the website is still amazing) Traveling with an allergy is a little more difficult, but it doesn't have to be impossible. Food allergies make life more difficult, but they don't have to take away the fun of traveling! Just like anything else, plan a little in advance, pack your epipens, and always check before you eat! Happy Travels! |
Archives
|
Photos from oneselfsacrifice, TheBetterDay, coconut wireless, shixart1985, Tambako the Jaguar, BudCat14/Ross, FrankHPhillips, xiquinhosilva, tcwmatt (on Hiatus), SV1XV, chocolatedazzles, philip.mallis, Castles, Capes & Clones, spablab, coconut wireless, V31S70, Joe The Goat Farmer, www.ralfsteinberger.com, gittaz, Castles, Capes & Clones, kellyhogaboom, Castles, Capes & Clones, verchmarco, gothopotam, shixart1985, Amaury Laporte, Virtual EyeSee, marada, slgckgc, Sam Howzit, wuestenigel, verchmarco, Dick Thomas Johnson, www.traveljunction.com, dulasfloyd, heymarchetti, MattCC716, PrincessAshley, Jamiesrabbits, spablab, meshmar2, Chuckcars, alexa fades away, wuestenigel




 RSS Feed
