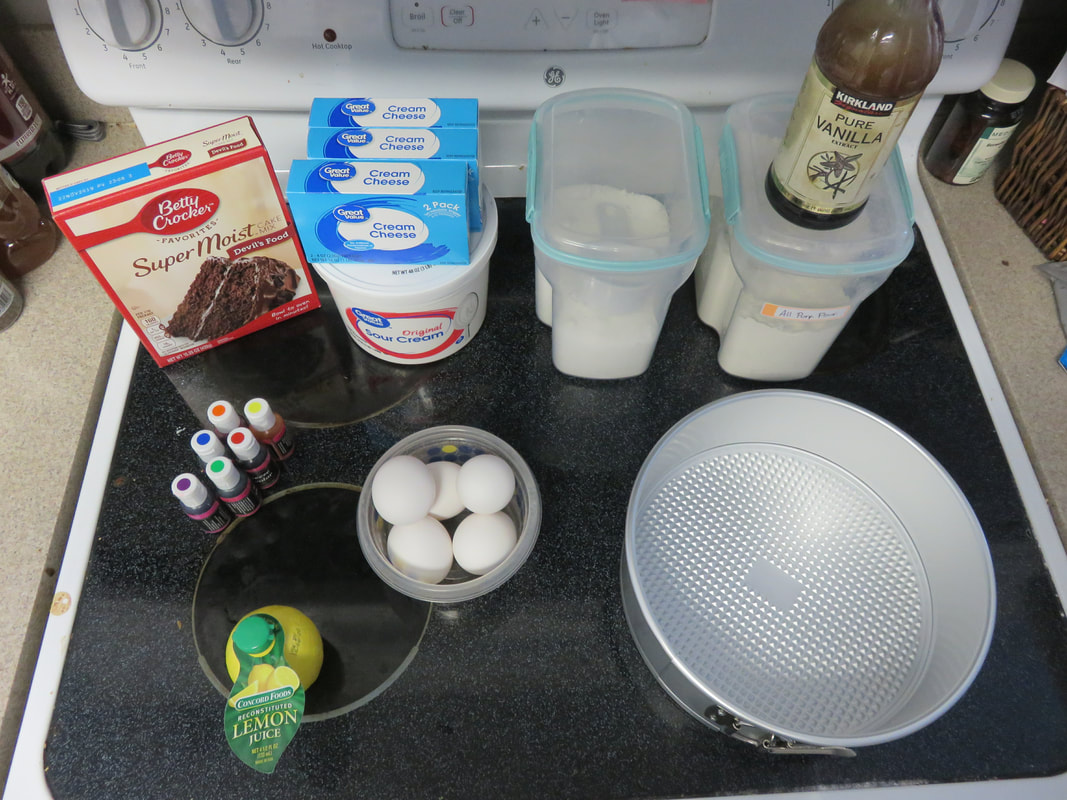
 It's time for another copycat recipe!! I admit, I was VERY intimidated thinking about making this, but little man wanted it so badly, I gave it a shot, so that I could guarantee it would be completely safe for his allergies. Much to my surprise, it was easier than I thought it would be, AND it was really tasty! Like so many other recipes I do, you can change this up a little bit to suit YOU and your needs. While the original version at Pop Century Resort has Red Velvet Cake on the bottom, don't want it? Do chocolate! Or white, and make those colors really pop! Have a holiday approaching? Don't do the bright neon colors, do pastel, or red, white and blue, or even a team's colors! Make a large one, or make a bunch of minis (I did both!) This is very versatile! The most labor intensive part is the amount of dishes it creates. I'm going to show you step by step, then put the recipe at the end. This recipe is actually enough to make 24 mini cheesecakes, and one 9 inch springform pan cheesecake, not quite full. When you think about these bring around $6 each at Disney...it's much better to do it DIY! the total cost of ingredients, for me, was around $7, because I had the icing colors on hand, and the vanilla and sugar, I only calculated the portion that I used in my cost. I'm using the same icing colors that I used in the Copycat Banana Split Cupcakes, because I love (and need) them from a Nut Free Facility.
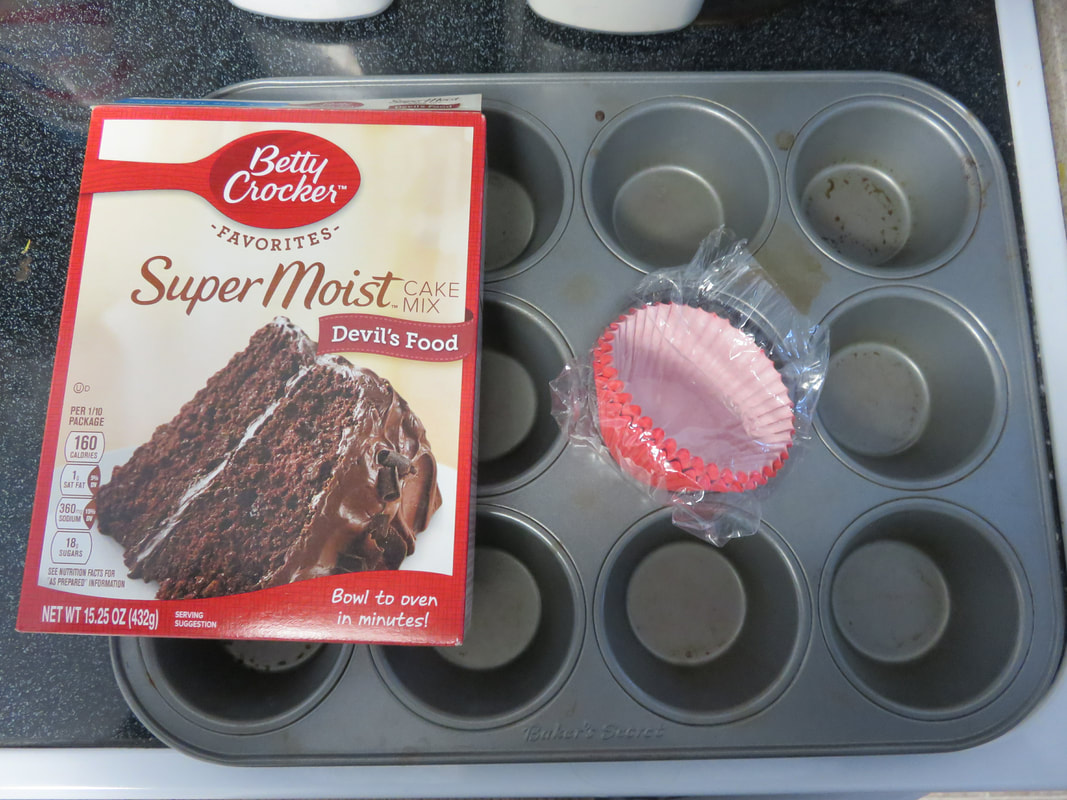
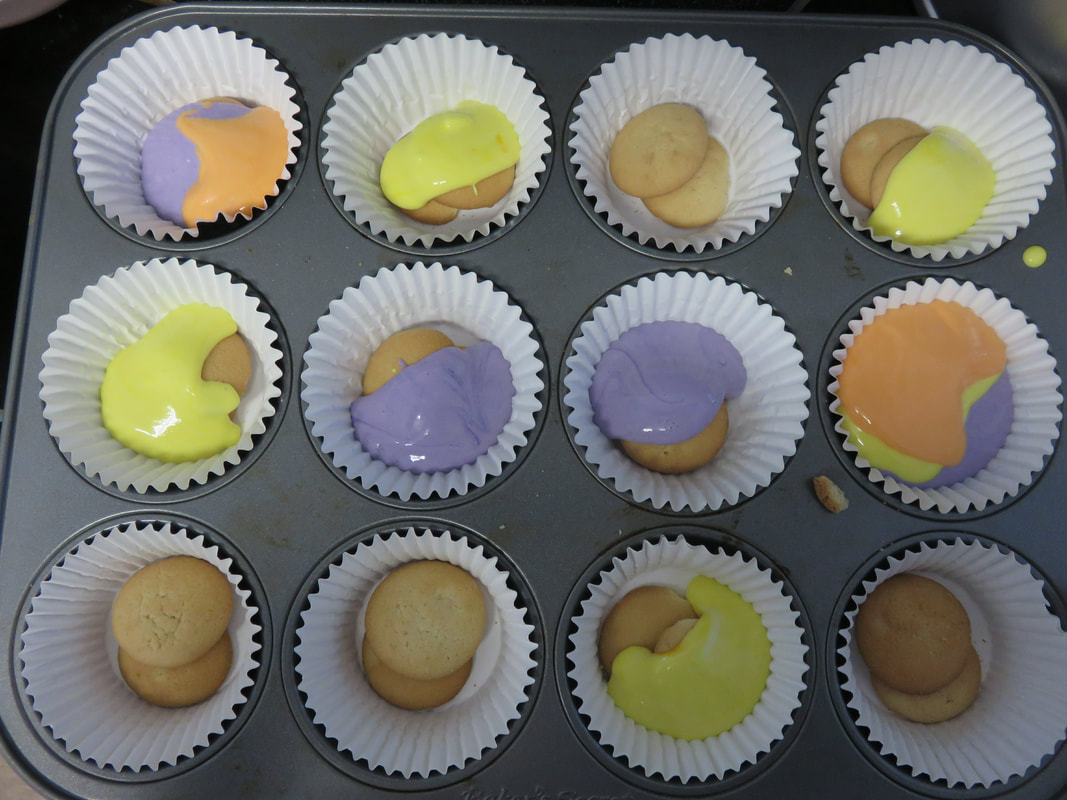
If you are making a large cake, go ahead and mix the batter, putting about half of it in your springform, and put it in the oven. If you are making only minis, line the pan, and put in the bottom of each something like a vanilla wafer, or a piece of graham cracker.. It makes a nice crust, and makes it easier to handle the cheesecake. Mix your cream cheese, sugar, sour cream, eggs, vanilla and lemon until smooth. 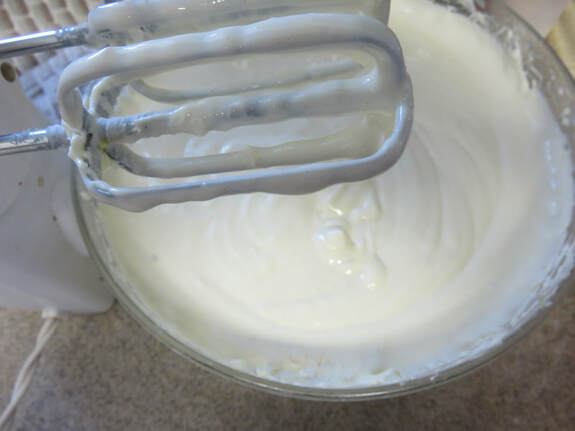 Divide the mixture into small bowls, one bowl for each color you want your cheesecake to be, and then color it until you are happy with the color. 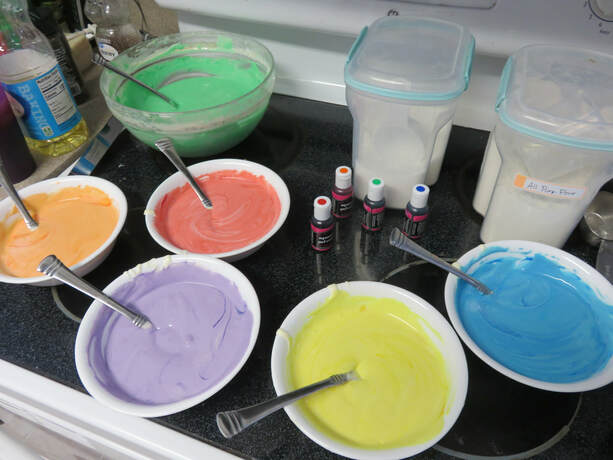 Cool your cake, and once cool, or if just doing minis, start to drop spoon fulls of colored mix.
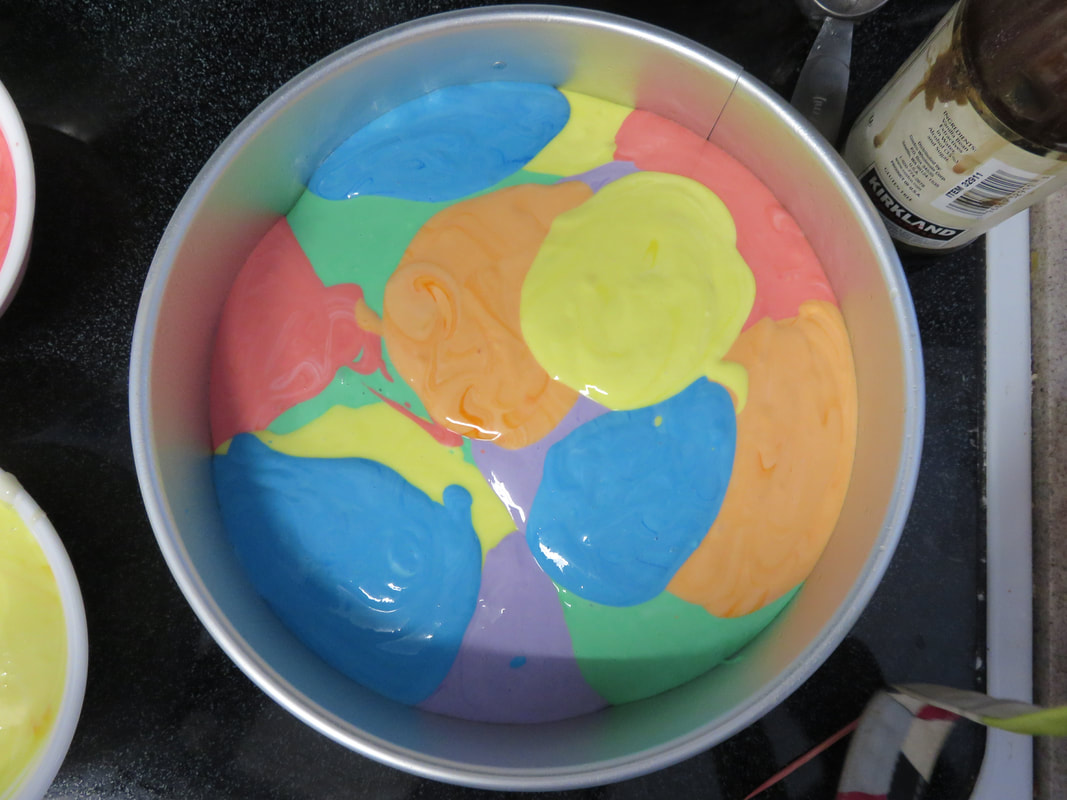
Keep dropping spoonfuls until your minis are about 2/3 full, and about an inch from the top of the larger pan, because the cheesecake mixture will expand as it cooks. Once it is all mixed, take a toothpick and drag it through the batter, swirling and mixing until you think it looks nice. 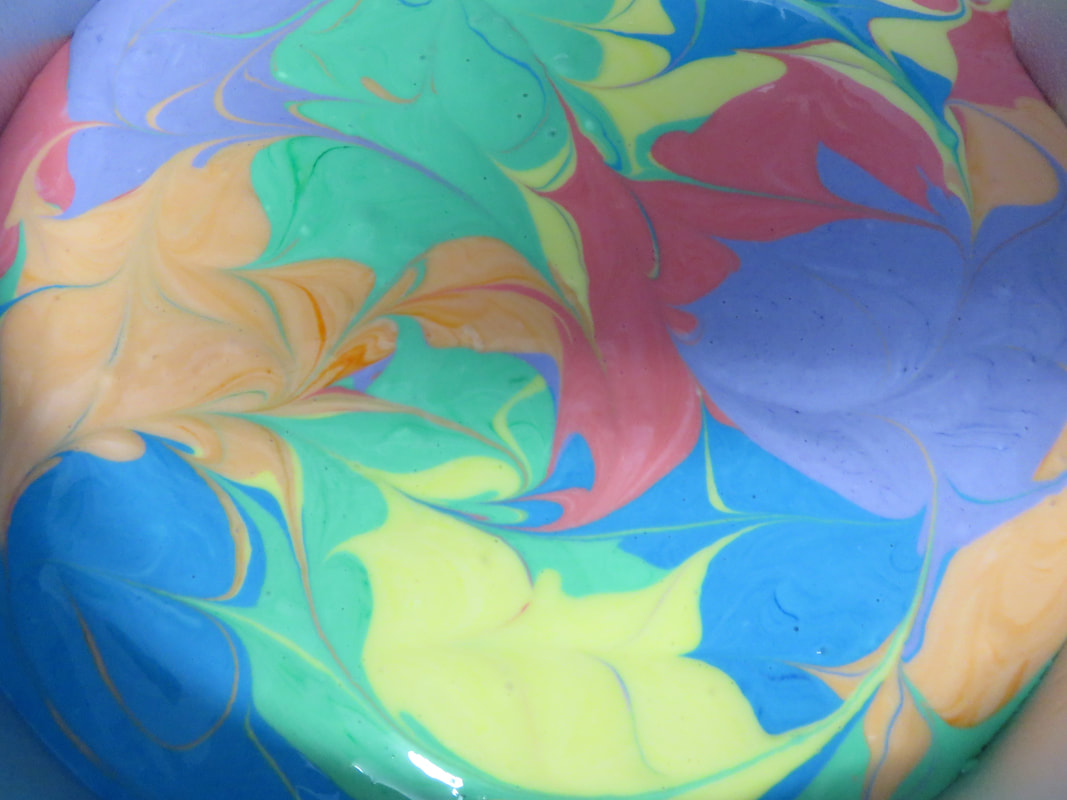 Isn't that beautiful??? Like a work of art! Pop it in the oven and keep a CLOSE eye on it. 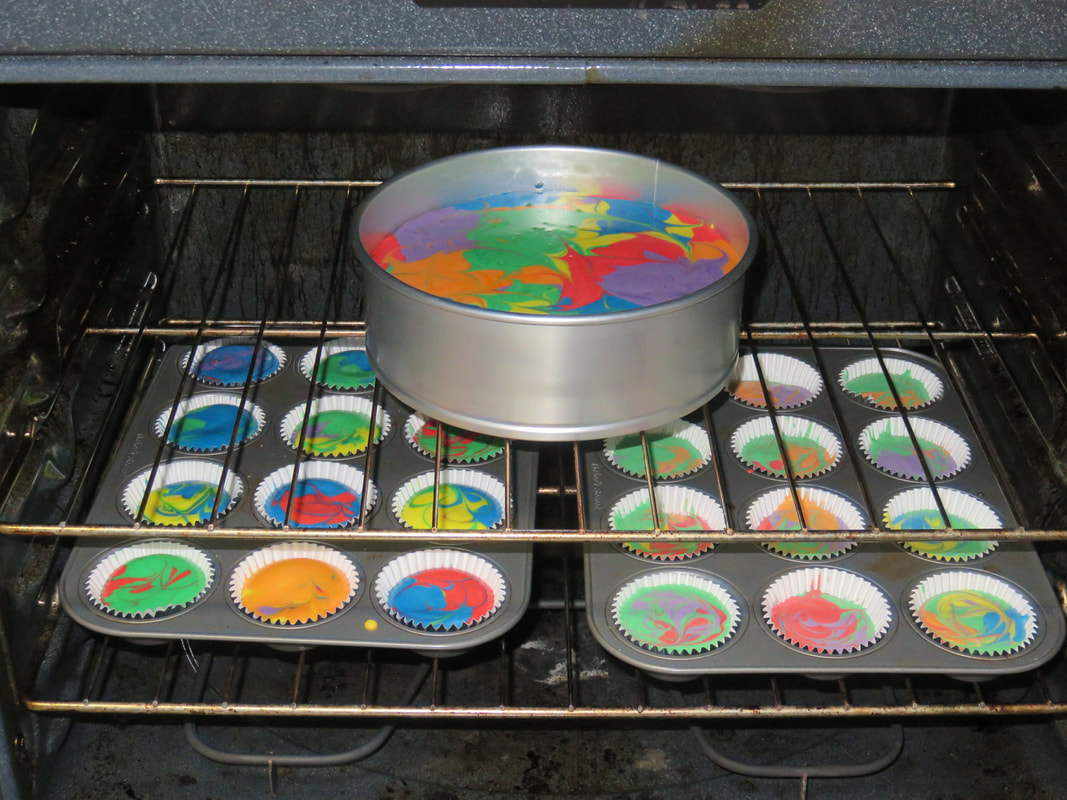 Of course, the small ones cook faster, but I am not kidding, I thought to myself, naaaah, the big one needs just another minute or two, and in that time, I went from bright colors, to a sepia tone. Still tasty, and attractive, but not the bright colors I had planned for. 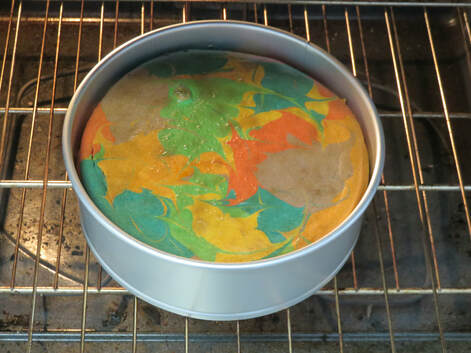 The minis turned out great, just as vibrant as when they went in, however....it would appear I didn't take a final picture of those!! Whoops! I guess we ate them too fast! Here's the recipe! Please note, I used full fat versions of ingredients, sometimes lighter doesn't bake as well. You can try whatever you like though! 1 Box mix of Red Velvet (Or your favorite flavor) the ingredients needed to make the box mix 3 bricks of REGULAR cream cheese room temp 1 1/3 cups white sugar 5 eggs 16 oz tub of REGULAR sour cream 1/4 all purpose flour 2 tsp Vanilla extract 2 tsp lemon juice food colors (I used gel) in red, purple, green, blue, yellow, orange OR your desired colors Make cake batter, and put about a third in the springform pan. Bake until done, and cool. If just making minis, skip this step! Heat oven to 325 Beat cream cheese and sugar until creamy. Add eggs, one at a time, beating between each. Add flour, vanilla, lemon juice, and sour cream and mix until incorporated, but don't overmix! Divide batter between bowls matching the number of dyes you want to use, then add dye until you have the color you want. Drop spoonfuls of colored batter over the cake, or the cupcake pan in the spring form pan, leaving about an inch from the top of the pan. Use a toothpick to swirl and blend colors. Place in the middle of the top rack of the oven and bake for 1 hour and 15 minutes for the large cake, ABOUT 20 minutes for the mini cheesecakes. This is where I went wrong with my larger one. Trust the hour 15 min unless you've made cheesecakes before and know your oven cooks quick or slow. Don't leave these alone, and keep peeking on them. Sometimes the cheesecake starts to rise too high and will make a mess in your oven. If you see it rising too high, don't turn off the heat, but open the oven door a crack for a few minutes, and then close it, the cheesecake will drop in height. The large cheesecake will not be set completely at the end of the hour 15 minutes. After the baking time is up, crack the oven door and leave in for an additional hour. After an hour, remove and cool, then refrigerate, overnight. The minis, can be eaten after just a few hours of cooling! Final step, slice, serve and enjoy! Want to see how our minis, compare with the real thing? Here's a picture on Trip Advisor that shows what the Pop Century version looks like! See how tiny it is though??? I really hope you try and make this! It's less intimidating than I thought, and I admit, I feel really proud I was able to make it! Any ideas what we should make next??
0 Comments
Leave a Reply. |
Archives
|
 RSS Feed
Photos from oneselfsacrifice, TheBetterDay, coconut wireless, shixart1985, Tambako the Jaguar, BudCat14/Ross, FrankHPhillips, xiquinhosilva, tcwmatt (on Hiatus), SV1XV, chocolatedazzles, philip.mallis, Castles, Capes & Clones, spablab, coconut wireless, V31S70, Joe The Goat Farmer, www.ralfsteinberger.com, gittaz, Castles, Capes & Clones, kellyhogaboom, Castles, Capes & Clones, verchmarco, gothopotam, shixart1985, Amaury Laporte, Virtual EyeSee, marada, slgckgc, Sam Howzit, wuestenigel, verchmarco, Dick Thomas Johnson, www.traveljunction.com, dulasfloyd, heymarchetti, MattCC716, PrincessAshley, Jamiesrabbits, spablab, meshmar2, Chuckcars, alexa fades away, wuestenigel
