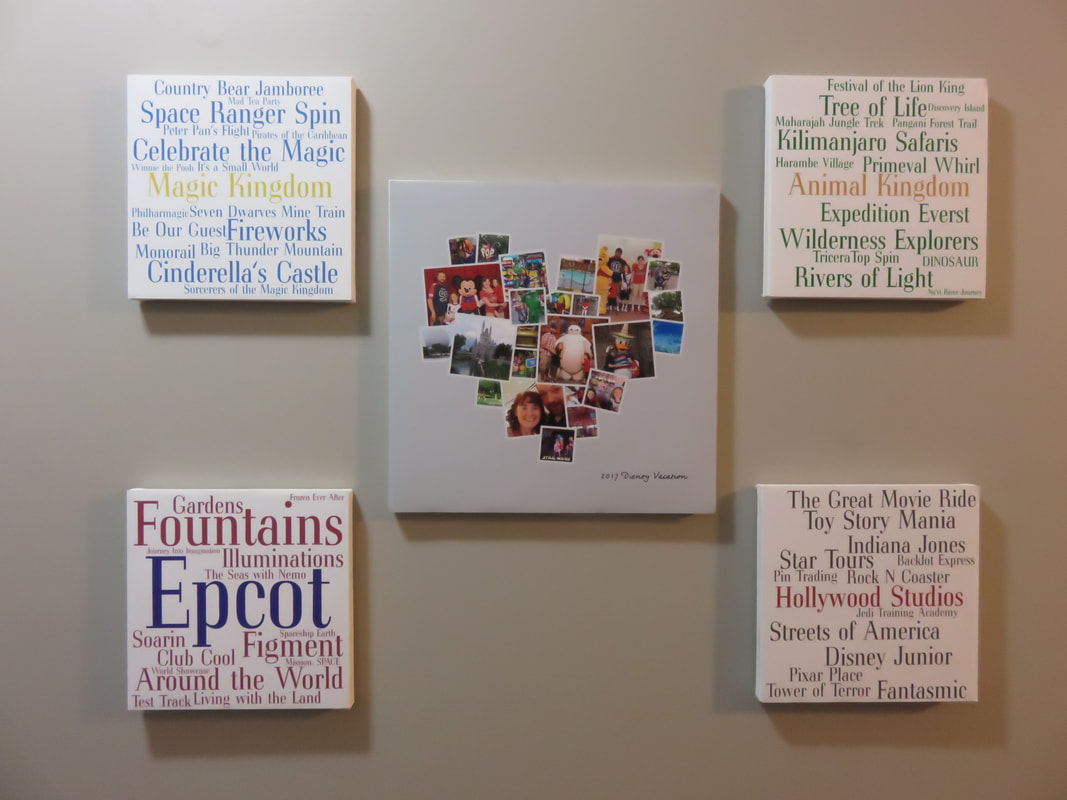
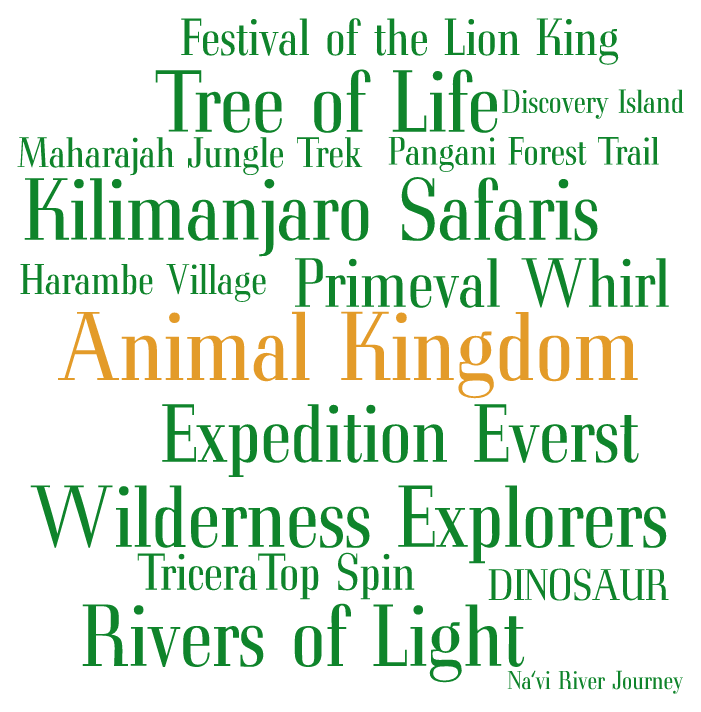
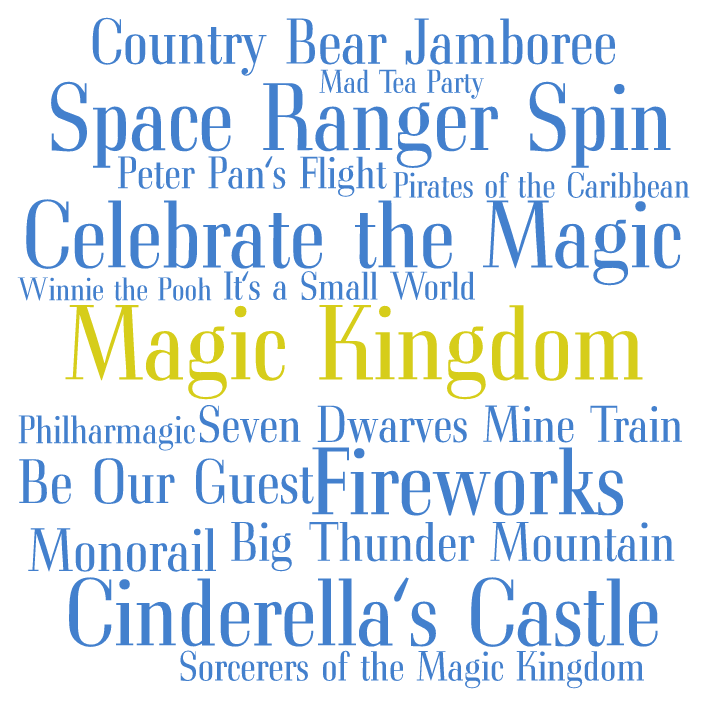
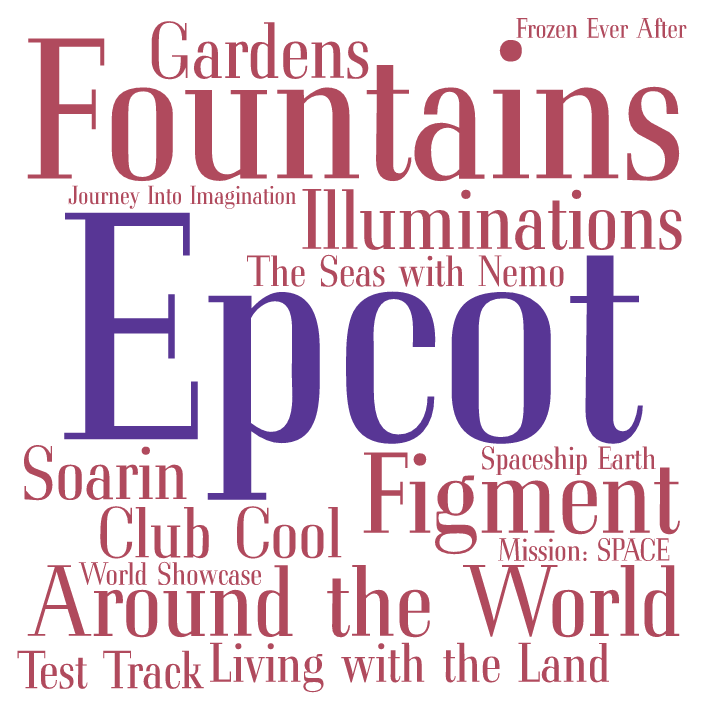
 A while back, I turned our downstairs hallway into a little Disney are area. We don't have the best of lighting in this area, but it looks awesome in person, and we all love to walk past and remember some of our favorite rides. The best part, is it looks so expensive, and difficult to do, but it hardly took any time at all! In addition to only a little time, I'm not lying when I tell you it was only around $20 to make this! Here's how YOU can make something like this for yourself or give as a gift later! Your supplies are simple if you want to make something like mine! You can change it up with sizes and shapes easily, but this is what I used: 12 x 12 blank canvas (4) 8 x 8 blank canvas Modge podge paint brush (4) 8x8 Word Arts 12 x 12 collage The above items I got at a craft store, with sales or those 40% off coupons or already had on hand (like the paint brush and mod podge). The prints were made on Shutterfly. I used a coupon (you know they always have great ones) and got it mostly for free, just had to pay shipping. If you are impatient to wait for a free code, they often do 40-50% any one item. There are loads of shapes you can choose, and I'm really thinking of going back and making ones for previous trips. The Word Clouds are from Tagul. You make them, any way that you want, and then you get to save your images. This is all FREE! If you want a higher quality, you can pay for a download of a higher quality, but I found the lower quality did just fine for the 8 x 8 prints. I honestly don't think we could have gone much bigger, or they might have been grainy. A side note here, you can make these for ANY occasion! As a matter of fact, for last year's Christmas, I even did family gifts of these Word Clouds, typing in everyone's name, along with words like love, family and etc. I think everyone liked them! I printed those out just as 4x6 and 5x7 and mounted them on painted wooden cutouts I found at the craft store, that were fancy, and painted to match whatever word color I used. Back to the DIY! You can go here, to WordArt.com to get started. It's very simple, and fun to play around with. In just minutes, you too will have all kinds of creativeness going, and make some amazing art for your walls, or to give others! These are what I made, you can copy to use them for yourself, or make your own! I don't have all of the attractions listed, I just wanted to do our favorites, or ones we want to experience or have a particular memory of.
Once you have your canvas, and your prints, you're going to brush mod podge on the canvas, all over, AND mod podge on the back of the print. Quickly lay the print on the canvas, glue to glue, and let it dry. I actually turned mine face down so that the edges wouldn't curl. Afterwards, they were hung on the wall with command hooks. Amazingly, they have only been knocked off once, (hence that bent corner on Hollywood Studios and the collage) but I have boys who love to run down that hall, so it's a miracle that it's not worse! They were also so easy to make, and inexpensive, it's not too big of a deal. I plan to fill in those gaps between my prints next summer with 5 x 7 canvas with character autographs! So there you have it, easy, inexpensive, and AWESOME!! It only LOOKS hard to do! Now go make some for yourself, or others and enjoy their delighted faces!
0 Comments
Leave a Reply. |
Archives
|

 RSS Feed
Photos from oneselfsacrifice, TheBetterDay, coconut wireless, shixart1985, Tambako the Jaguar, BudCat14/Ross, FrankHPhillips, xiquinhosilva, tcwmatt (on Hiatus), SV1XV, chocolatedazzles, philip.mallis, Castles, Capes & Clones, spablab, coconut wireless, V31S70, Joe The Goat Farmer, www.ralfsteinberger.com, gittaz, Castles, Capes & Clones, kellyhogaboom, Castles, Capes & Clones, verchmarco, gothopotam, shixart1985, Amaury Laporte, Virtual EyeSee, marada, slgckgc, Sam Howzit, wuestenigel, verchmarco, Dick Thomas Johnson, www.traveljunction.com, dulasfloyd, heymarchetti, MattCC716, PrincessAshley, Jamiesrabbits, spablab, meshmar2, Chuckcars, alexa fades away, wuestenigel
